
Snowman Craft and Freebie!
It wouldn't be winter without a snowman craft! My students always love making this snowman at night, even though it doesn't snow where we live. I usually pair my crafts with a read aloud to make sure they are connected to academics. Snowmen at Night by Caralyn Buehner is the perfect book for this craft.
Supplies Needed:
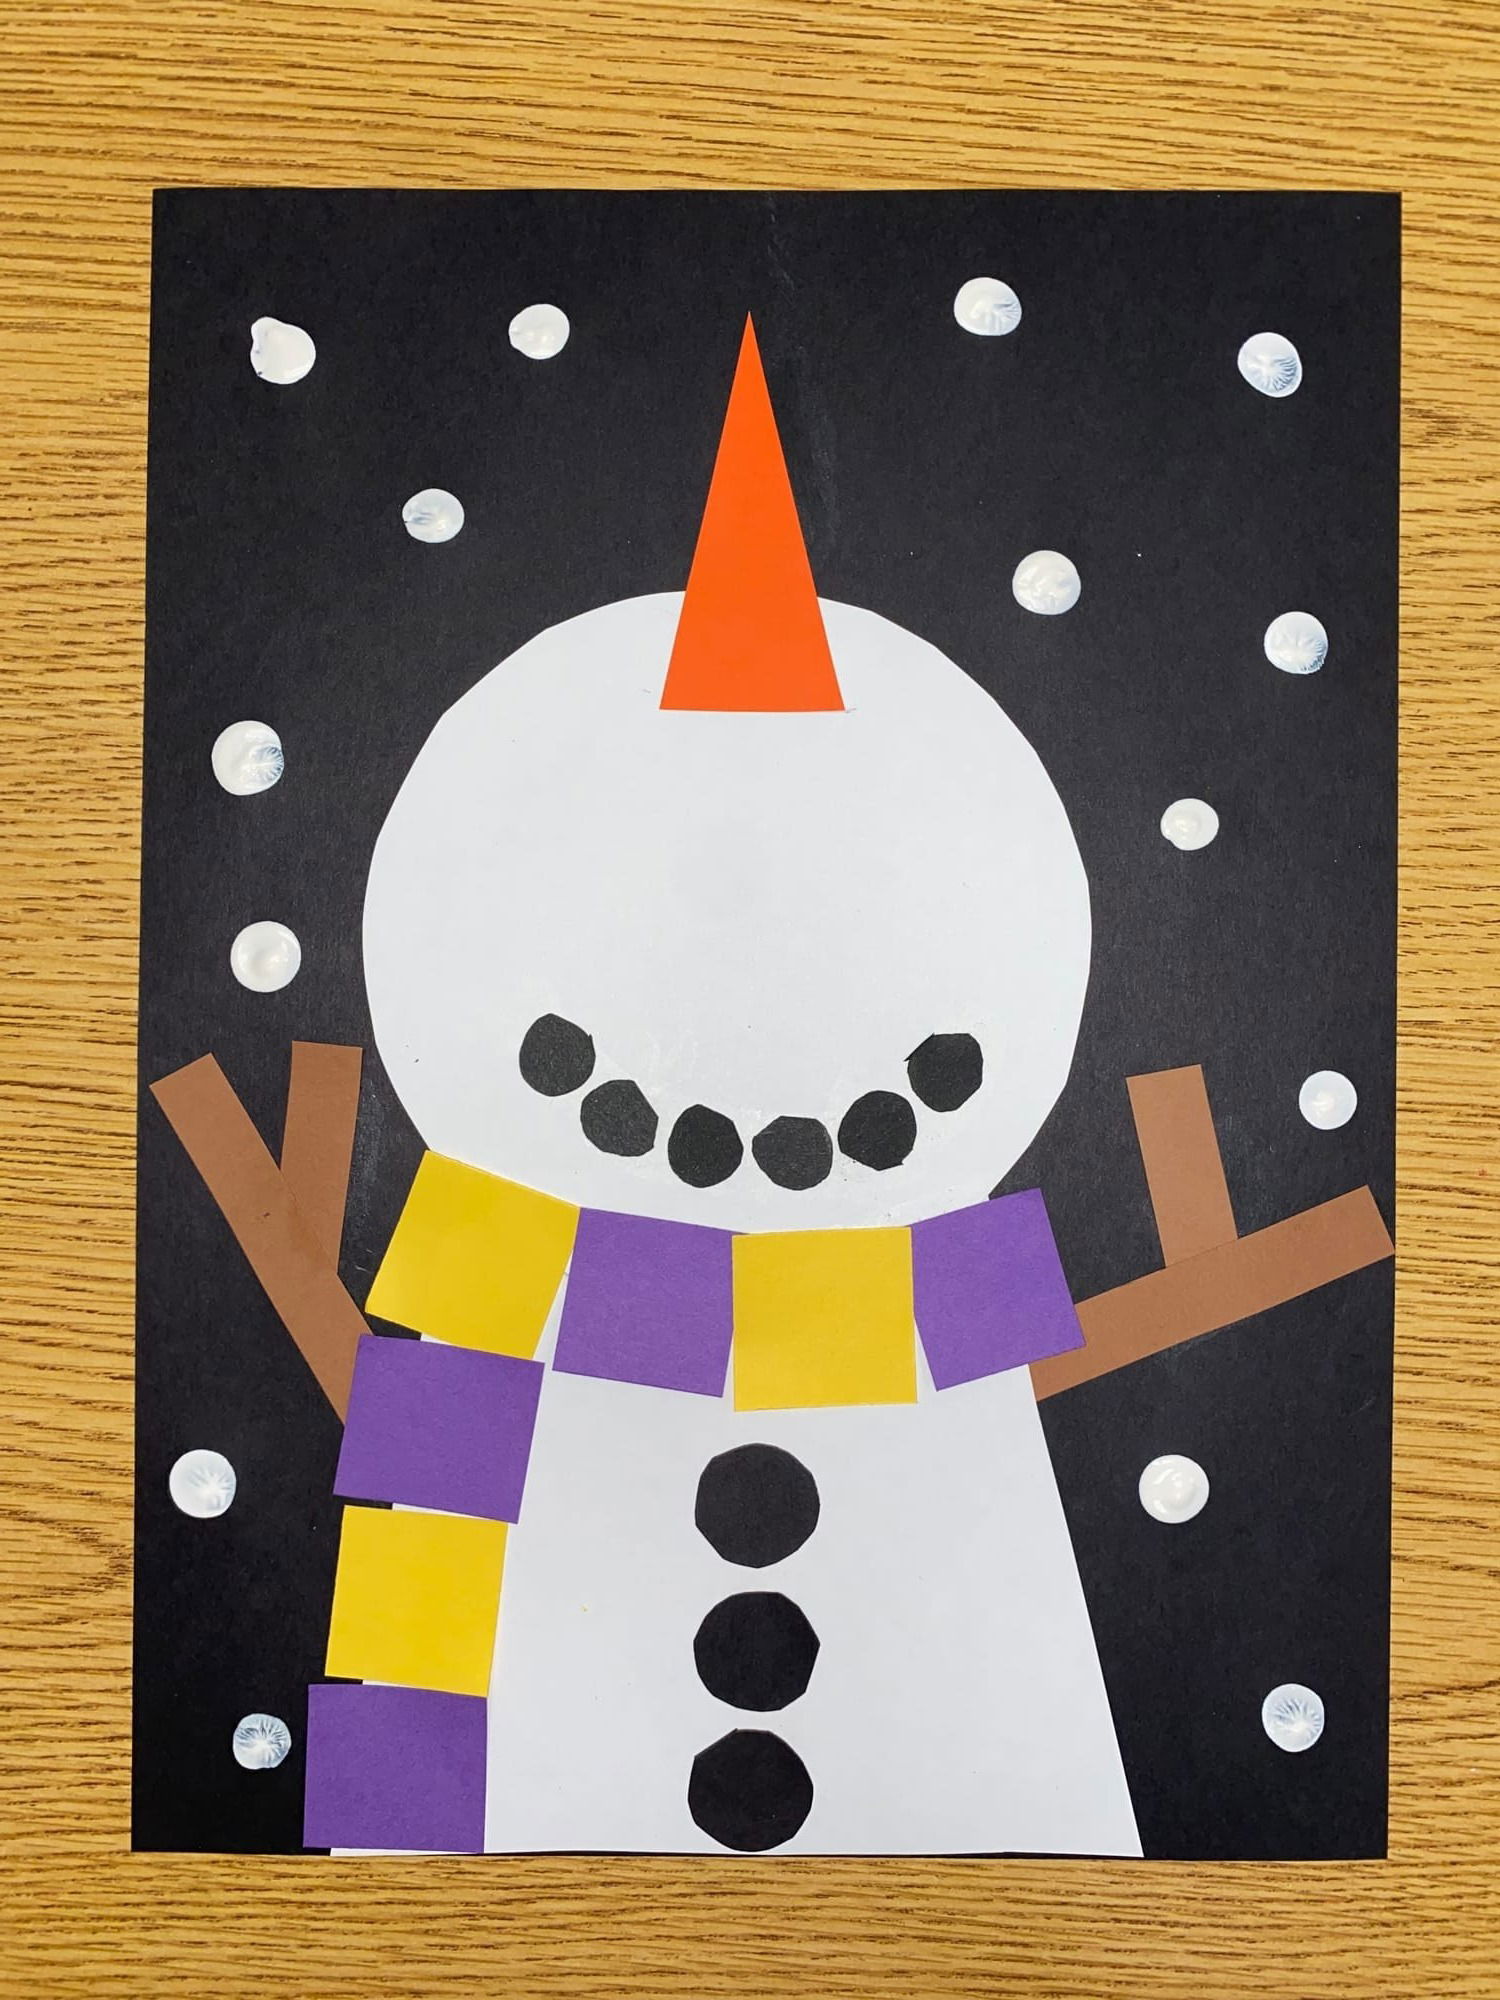
- (1) 9 x 12" black construction paper (background)
- (1) 4 x 1" black construction paper (buttons)
- (1) 4.5 x 0.5" black construction paper (mouth)
- (1) 9 x 12" white construction paper (head & mouth - see free pattern below)
- (1) triangle (carrot nose - see free pattern below)
- (2) 4 x 0.5" brown construction paper (stick arms)
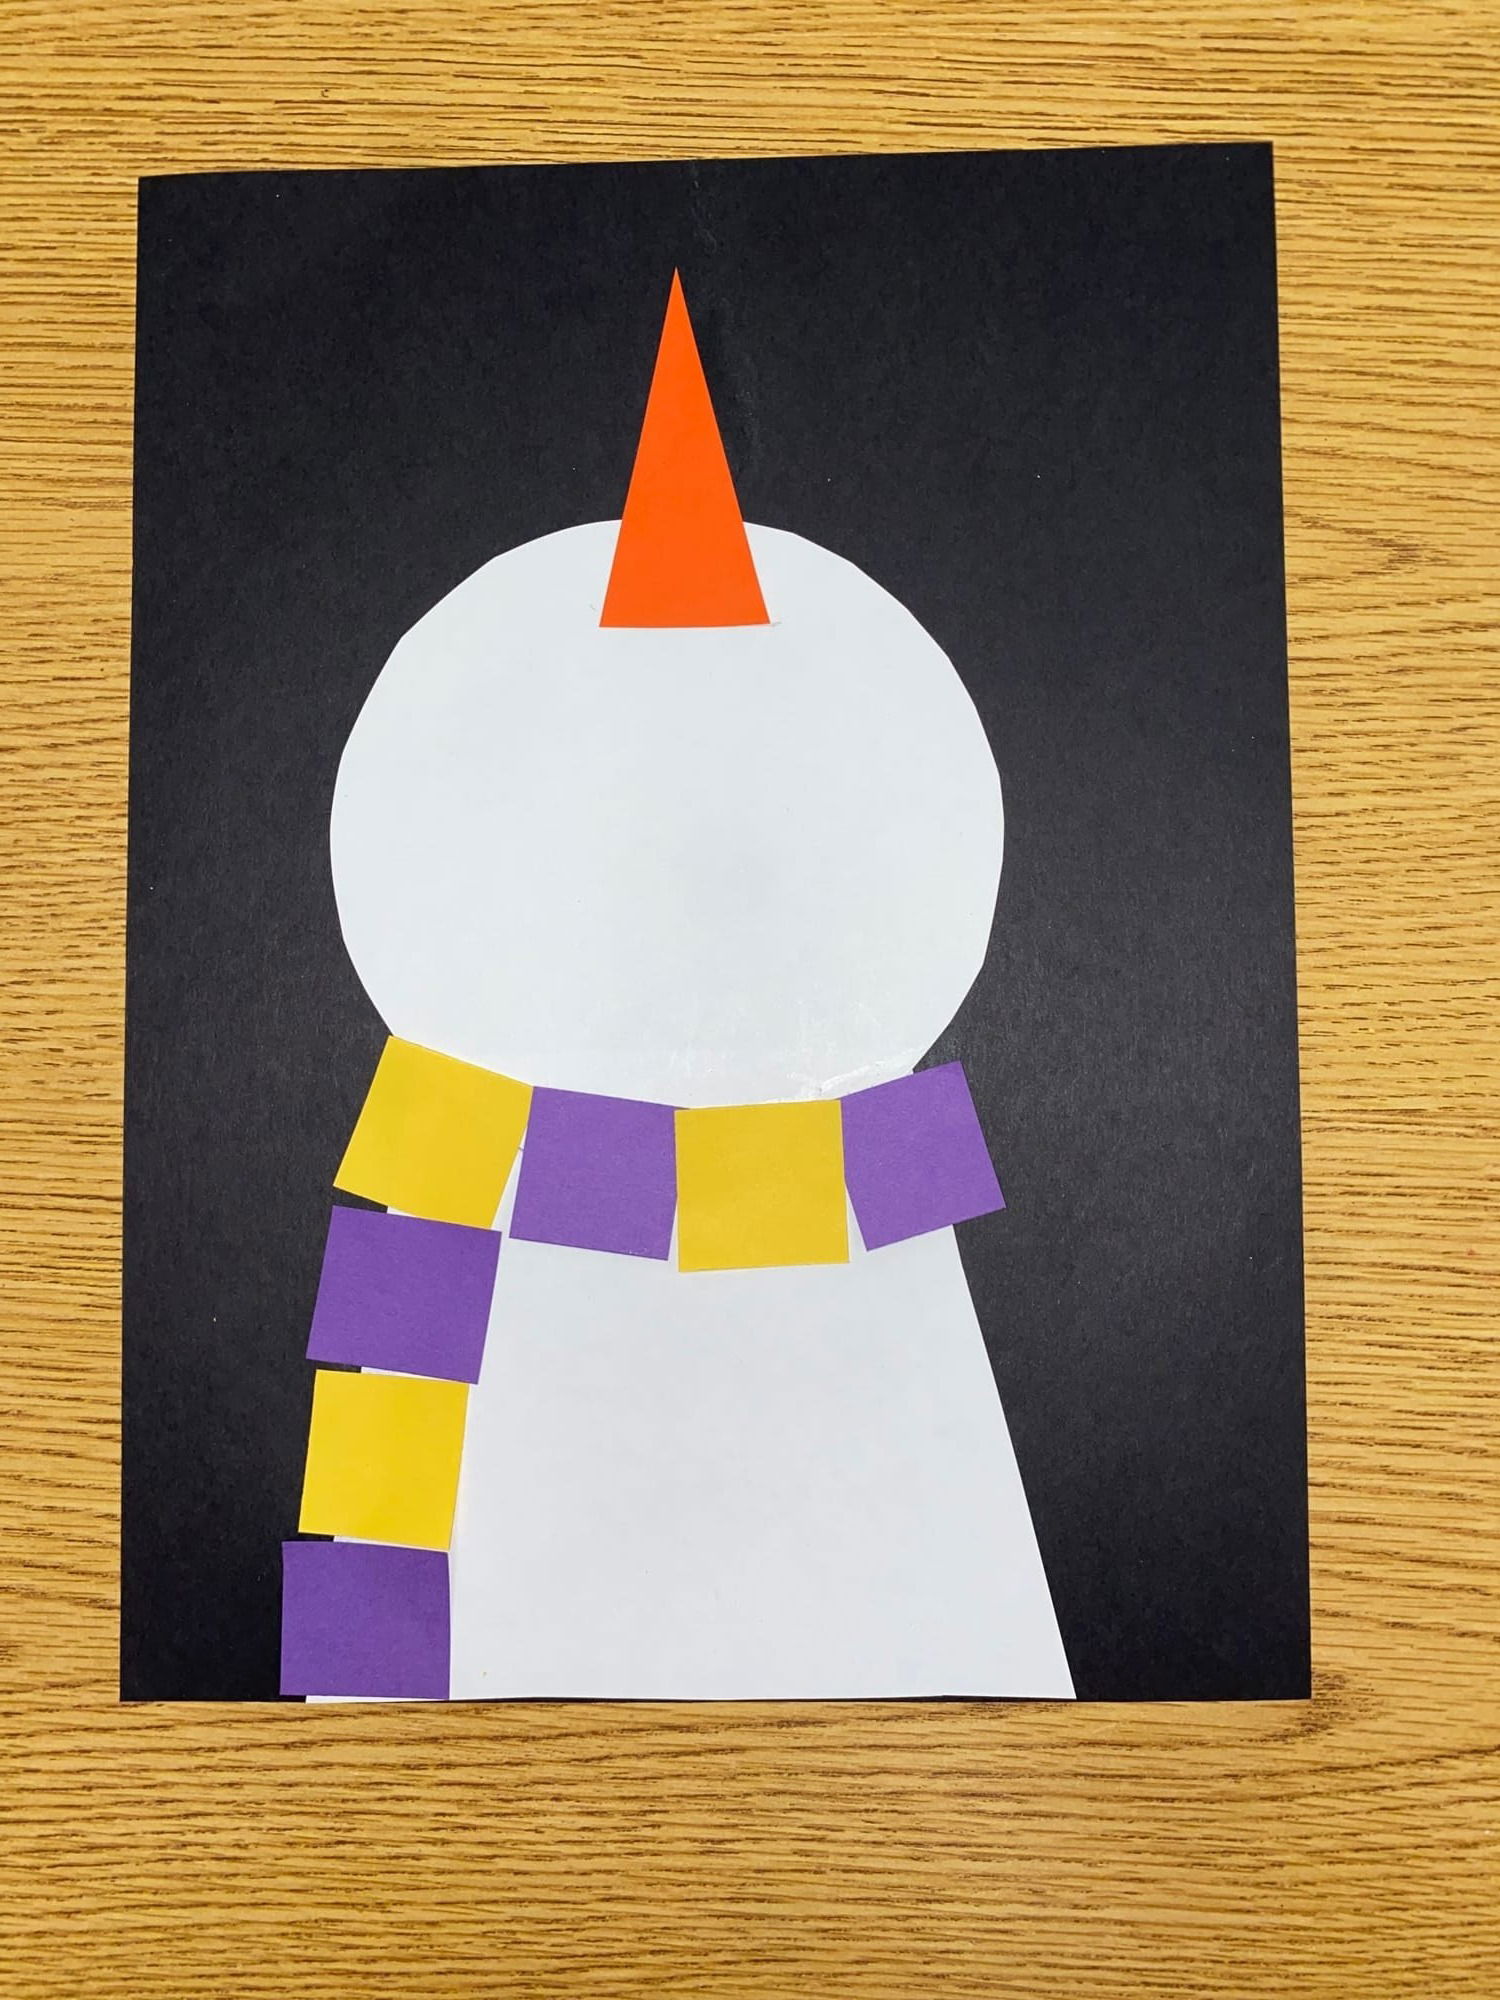
- (6) 1.5" squares of construction paper (scarf - two colors)
- White paint
*I recommend Tru Ray Construction Paper because the colors are so vibrant compared to some.
Craft Assembly Steps:
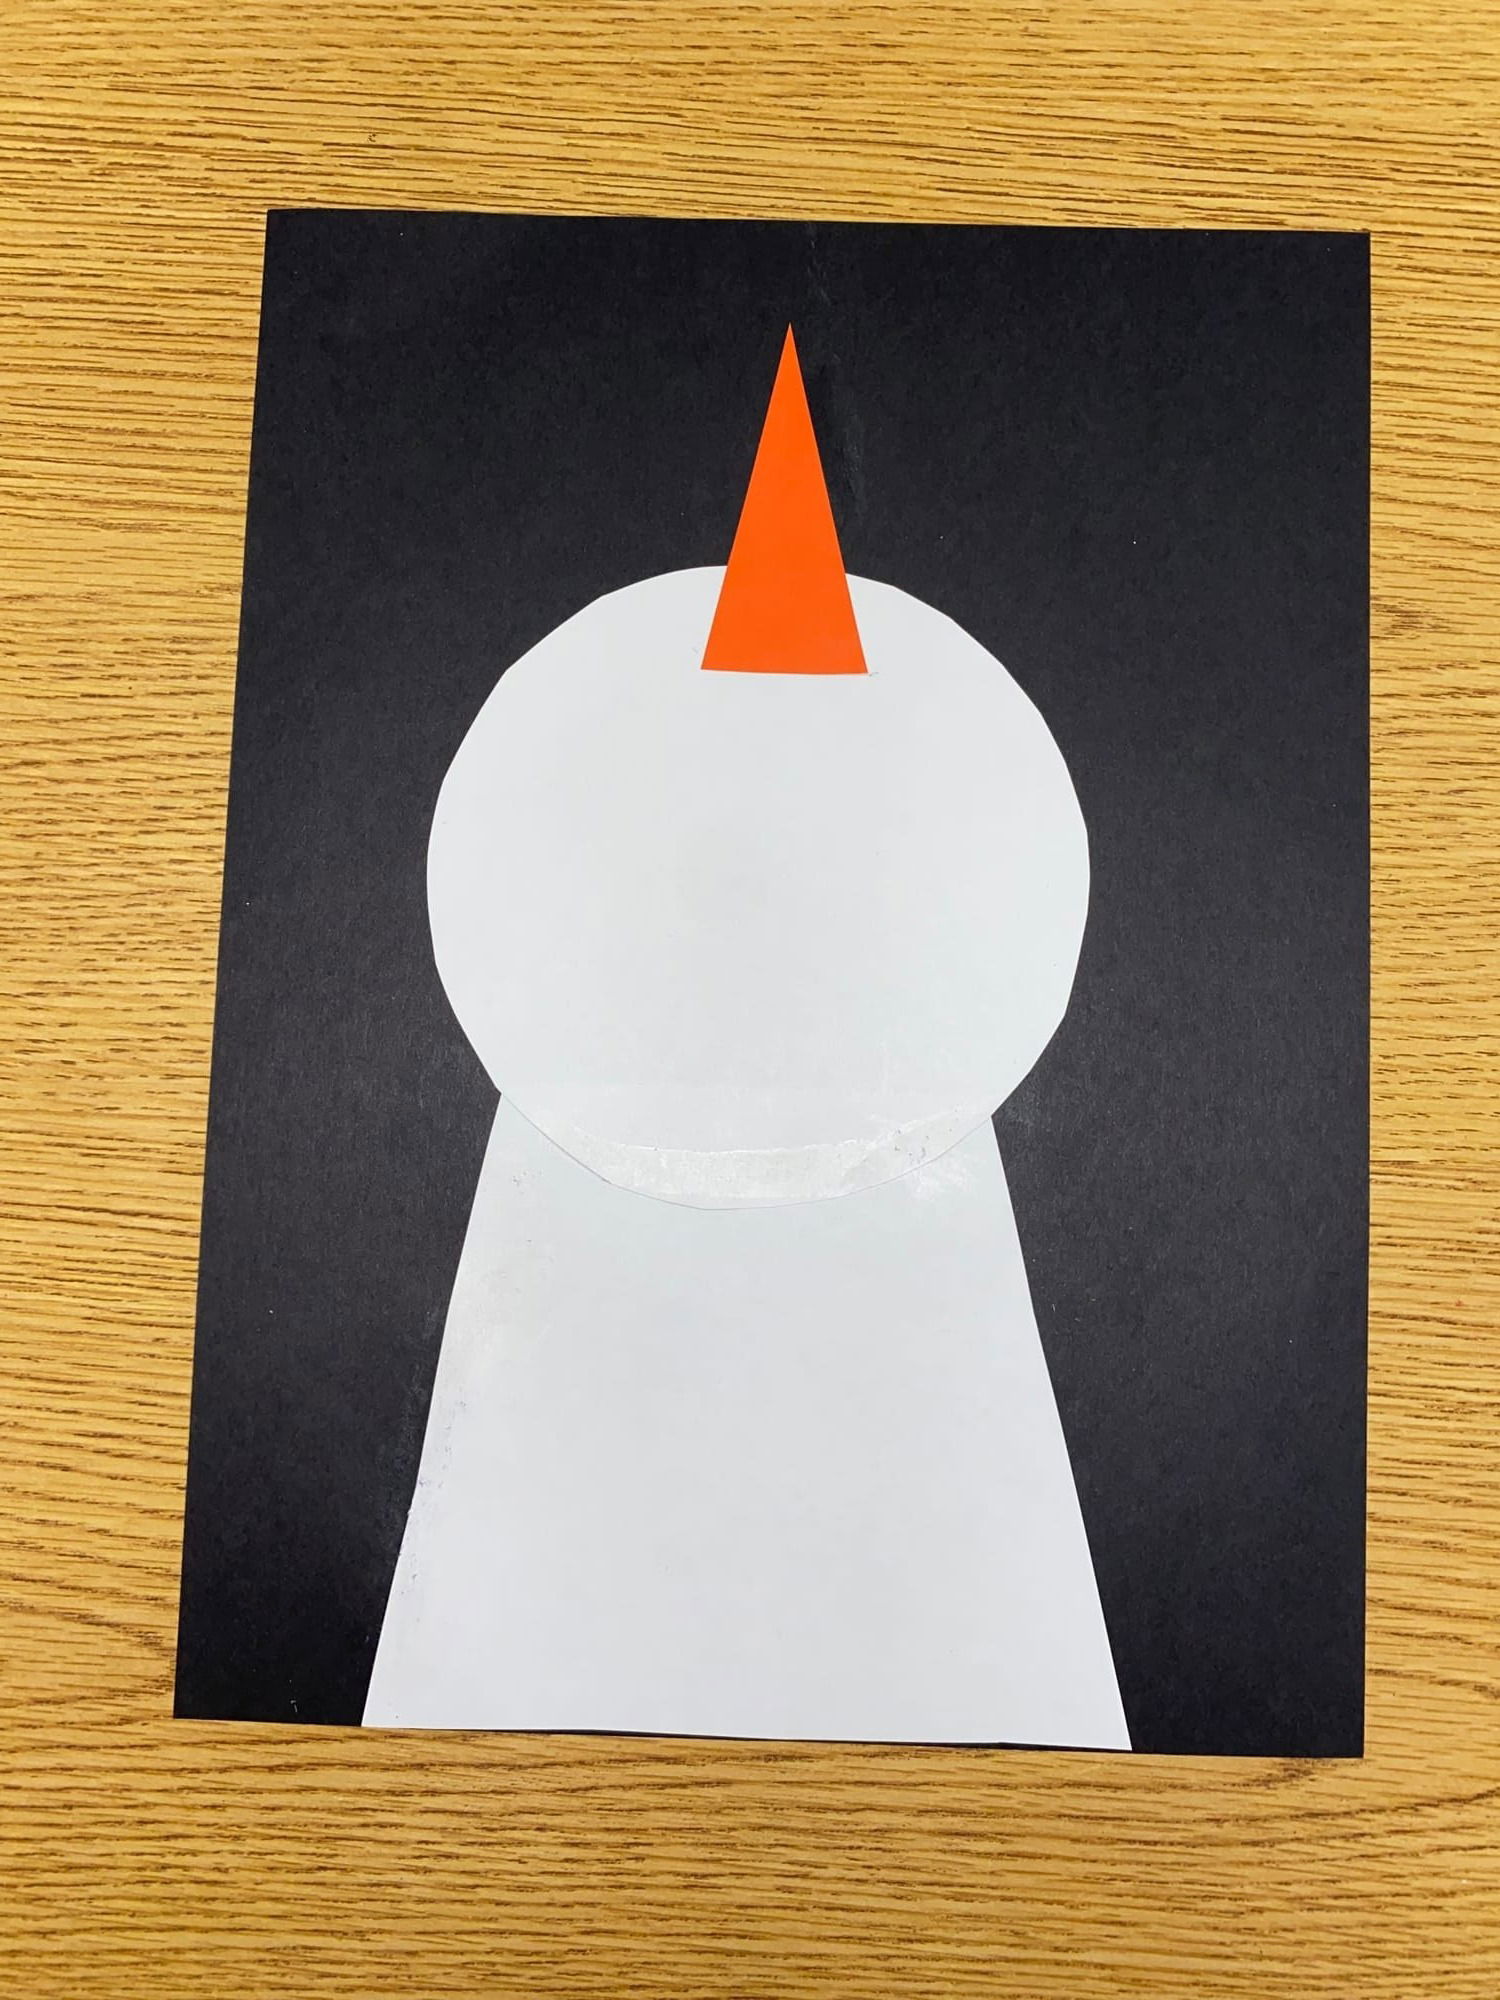
- Each student will need a black piece of construction paper. I tell them to put it on their desk the tall way (we call that the "hot dog" way".
- Glue on the white body and white head. The orange carrot nose should be glued on pointing up.
3. Glue on the squares to make his scarf. I have mine glue them in a pattern.
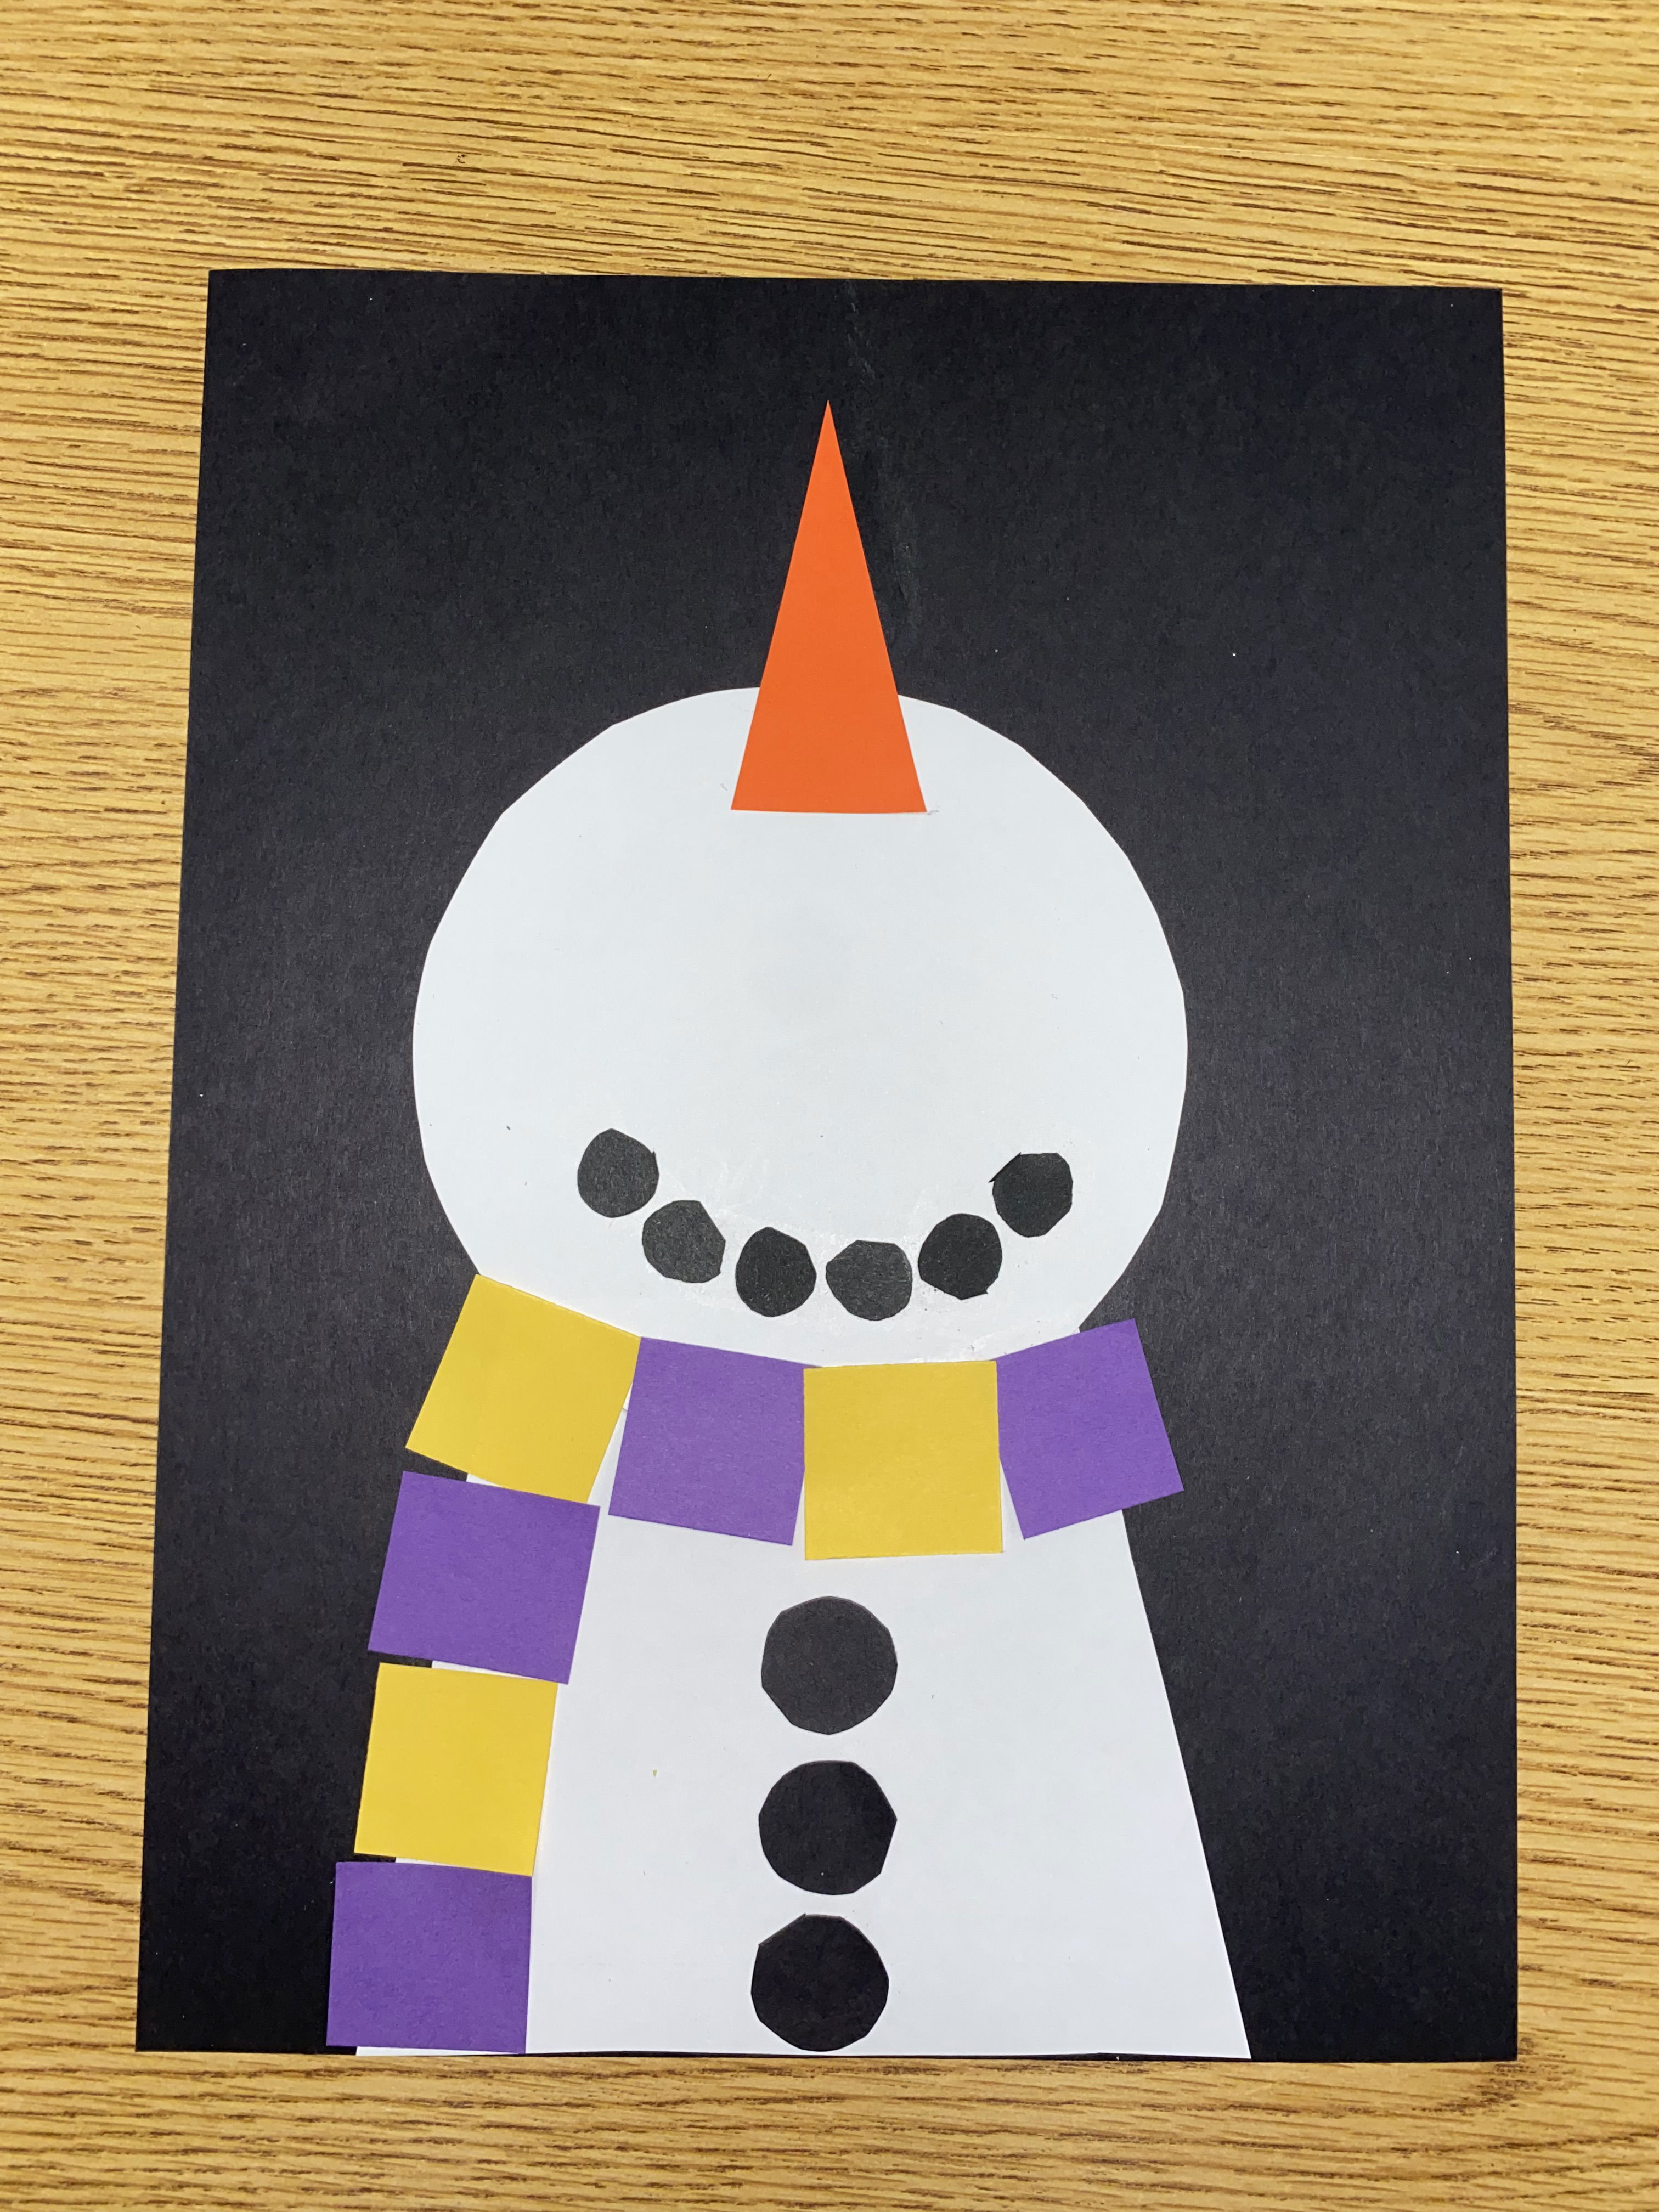
4. Fold the small black pieces several times to make squares. Have students cut off the corners to make them into circles for the mouth and buttons. It's okay if they don't come out perfect. That's what makes them unique!
5. Cut the brown construction paper pieces to make the arms. I tell my students to make them look like a "y" and a backwards "y"!
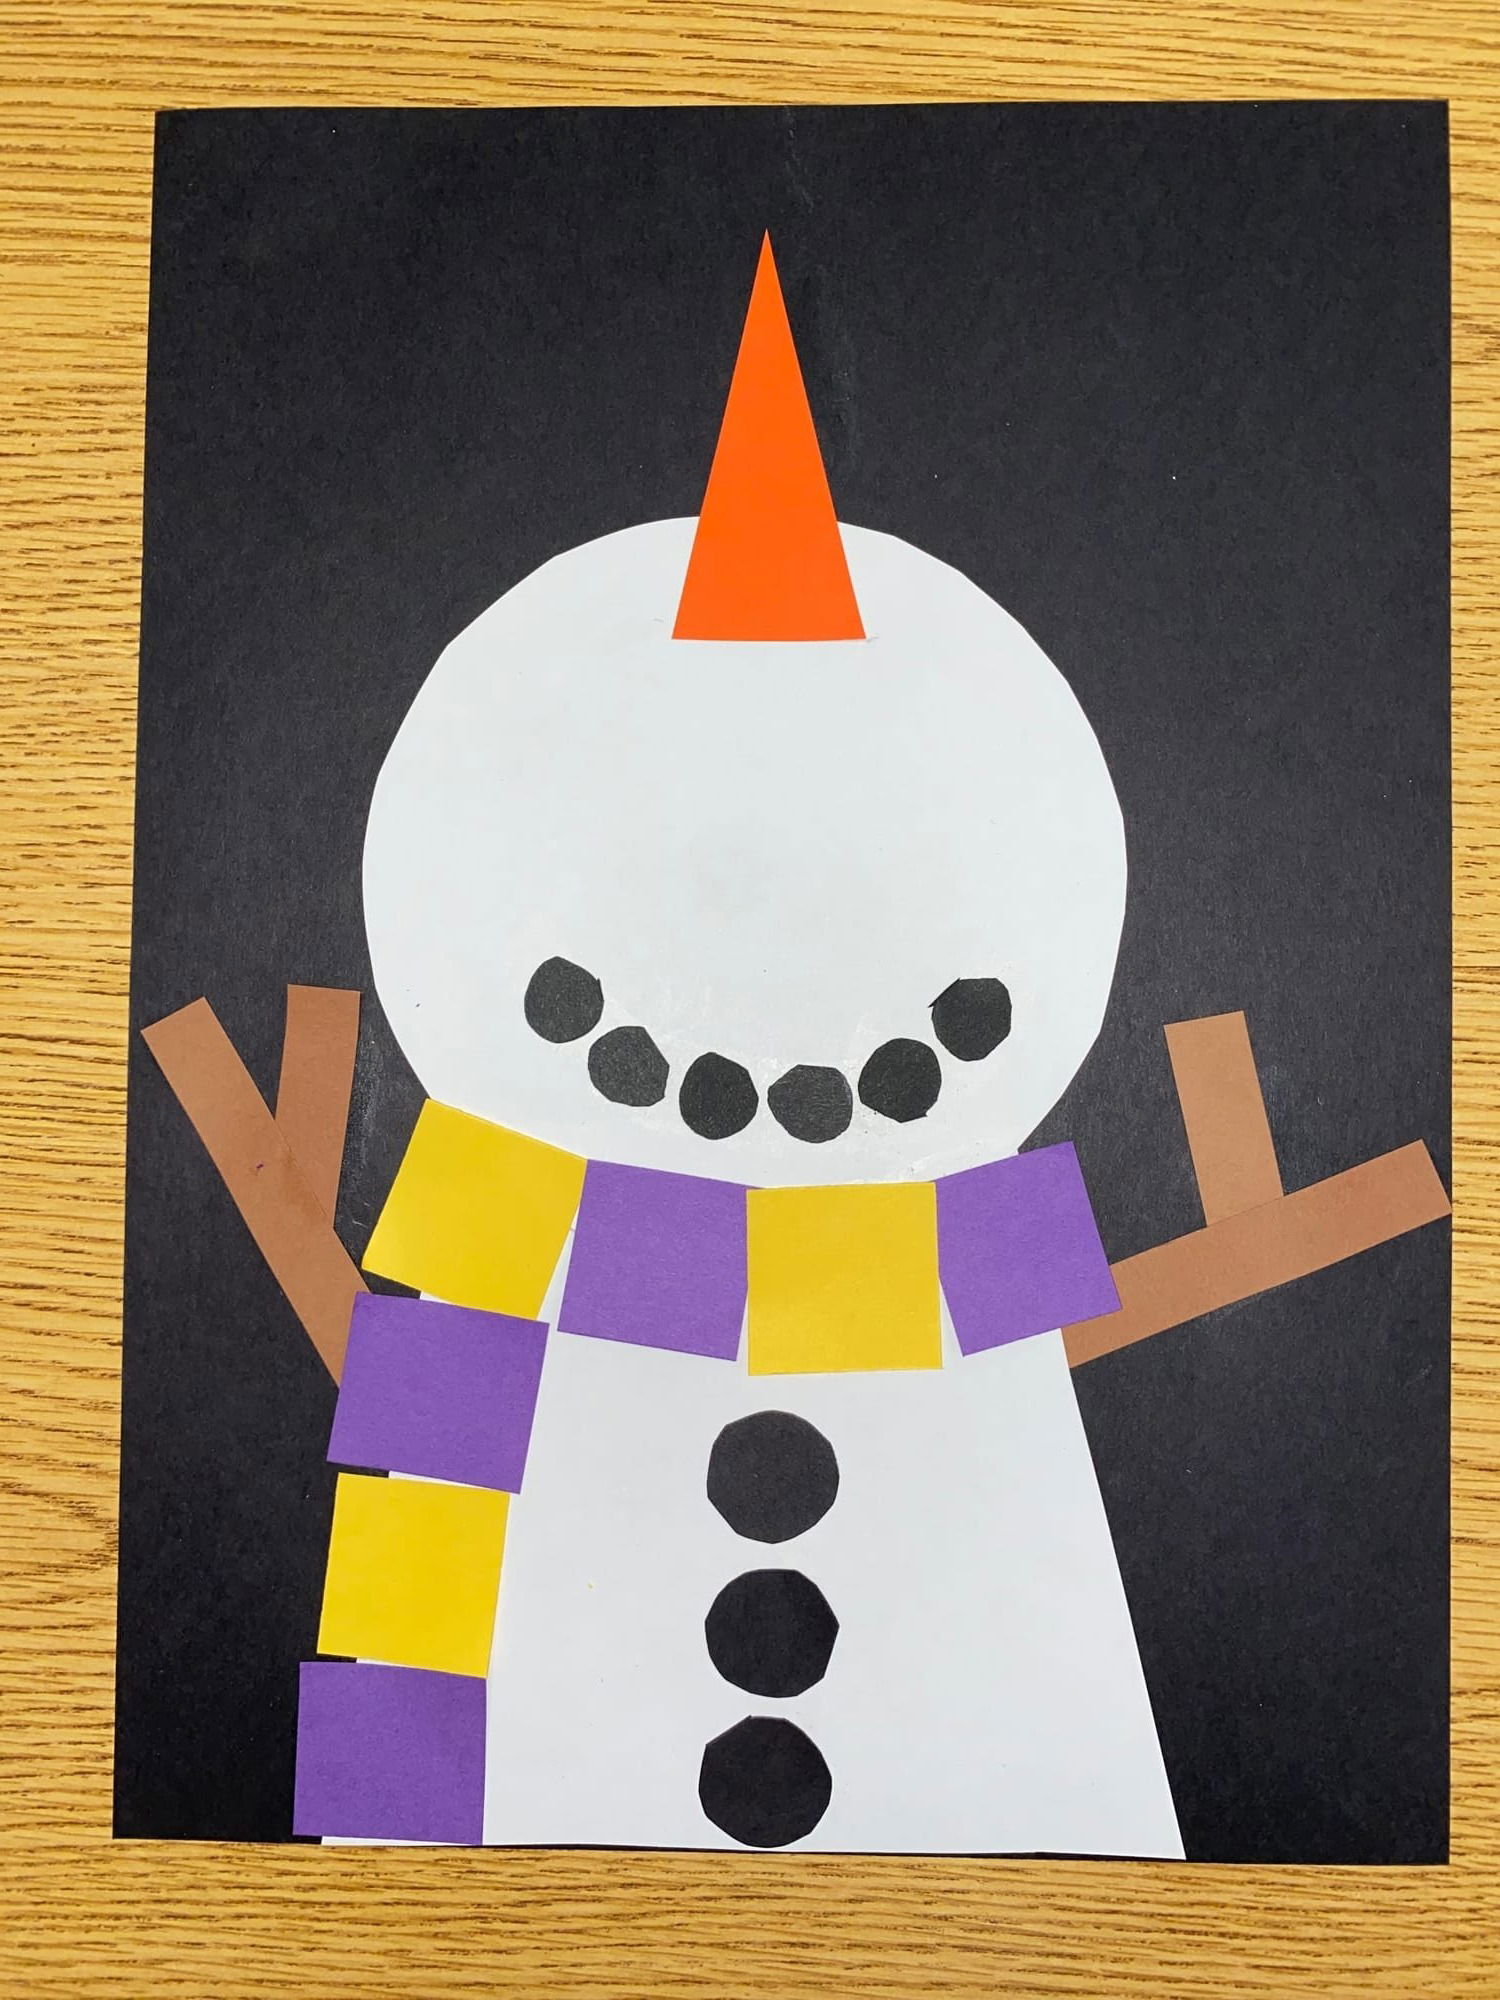
6. Add white paint dots for snow. We use our pointer fingers but you could also use Q-tips.
Aren't these cute on a bulletin board for January?!
Click here download this free template from my Teachers Pay Teachers Store.
Thank you!
Teaching Crafty